Are you looking for the Classworks Special Education program from TouchMath? Click here to go to their site.
Remote meetings, teaching, and learning are part of the new normal since the 2020 COVID pandemic changed our lives. Teachers, students, parents, and employees are using Zoom, Google Meet, Webex, Skype, Google Hangouts and other video conferencing apps. These products allow us to continue interacting, working, and learning from the comfort and safety of the home.
Teaching children via video conferencing can be very difficult. Besides the stress they may be feeling at home, students may be anxious about this unfamiliar technology. They’re distracted by how different it is to see their teacher on a computer screen. Features such as instant messaging between participants can quickly become distractions. Certain students may be especially fidgety, while others might feel frustrated or alienated.
To help smooth the transition to virtual meetings, here are some common problems and solutions for anyone using video conferencing apps.
The setting where you complete your video conference is a key visual element. Prepare the room by removing personal items within the camera’s view. It shouldn’t look like a tour of your home or collection of wedding photos. Work on an uncluttered surface and in a tidy space that is cleaned before the meeting. Keep all supplies, like tablets, smartphone, pen and paper close by, but not necessarily in view.
Choose light-colored walls as a backdrop. Use white or light-colored walls as a backdrop within your camera’s frame. White or light surfaces reflect light, whereas darker or black surfaces absorb it. Alternatively, make one wall bright green (a color that you’d never wear!) and use it as your backdrop. You can do this with a sheet, a vinyl shower curtain, or paint. (you can also purchase a green screen online.) Then use Zoom conference settings to replace your green background wall with an image—any image you choose!! Or use the fun backgrounds found at WeAreTeachers.com.
Improve your work area with an external keyboard and mouse. Typing on the same laptop from which you’re projecting is just not feasible when going for your best image. An external keyboard and mouse can be plugged into your mothership of a laptop via USB. Tethered keyboard and mouse sets can be purchased for less than $30 at Walmart and Staples.
TIP: Check the number of USB ports on your computer before heading to the store. Consider an inexpensive USB hub if you need more.
Set up in a room with low ceilings; high ceilings produce an echo that is unpleasant. Lift your laptop to eye level. Give your neck a break by raising your laptop’s camera to eye level. This position also allows you to lift your chin and speak in a more natural voice. You’ll look and sound better when you do it. Remember—even if you’re teaching remotely, you’re still practicing public speaking!
Use a shelf to raise your laptop. The sturdiest and least expensive item I’ve used to bring a laptop up to eye level is a shoe shelf meant for a clothes closet. Any store that has closet accessories should have one in stock. Target carries two, and either one works for $20 or less:
TIP: If the shelf puts your laptop up too high, invert the shelf and it should be just right.
Position your camera at eye level so you’re looking directly into the lens. Most laptop cameras are at the top of the screen which makes it perfect to look at the camera and screen at the same time. Integrated cameras in laptops mean you’ll need an external keyboard and mouse so your laptop can be propped up to the right height while still letting you work
After achieving the best position, use the record feature while rehearsing. Play back. Tweak. Repeat until you’re happy with your on-camera look and the feel of your body while working.
It is critical that you engage your audience of students, employees or other meeting attendees. Just like in-person meetings, virtual meetings require you to participate. Demonstrate that you are an active listener by using body language. Lean in, nod, smile and respond appropriately throughout the flow of the meeting. With your camera at a small distance, your arms will be visible, allowing you to gesture when necessary.
Your physical responses, such as eye contact, posture, and gestures, can build credibility and trust. This is not just a conference call where you can only hear each other. The visual aspect of these meetings allows people to connect on a deeper level and imitate some of the elements of in-person meetings.
Expressive facial expressions show that you are an active participant. Greet others as they join the meeting. Use hand motions when appropriate. Raise your hand or use the hand raising button, depending how the meeting is structured. Make your movements natural and energetic, instead of being stiff or completely still. Match your posture to the topics. Remember that just like in-person meetings, it’s natural to shift or adjust from time to time.
Cameras capture a poor quality image when there’s minimal light, too much light or a light pointed in the wrong direction. Provide a crisp, quality video stream by balancing natural light and indoor lights intentionally.
With the right lighting, your audience will see your movements and expressions so your audience can feel connected. Use the highest quality so your image is not distracting to your viewers, especially those who easily lose focus. Record the video with minimal graininess on playback. Since your students may access recordings of your online lessons asynchronously, it’s important to ensure you’re controlling image quality when you record your synchronous session.
Natural Lighting
Incorporating Lamp Light Properly
Soft lighting is important. A lampshade or a scarf draped over an LED fixture reduces harsh shadows and softens the lighting in a room. If the ceiling features recessed fluorescent lights, tape warm-colored scarves or fabric over them. Just make sure the fabric is lightweight and sheer—if it’s too thick or opaque, it will block out the light altogether!
Contrary to popular belief, the closer a source is to a subject, the softer the shadows will be. So if a lamp’s glow is too harsh, tone it down with sheer fabrics and bring the light source closer to you. This may even boost the camera’s exposure on your face. Be sure to balance any natural lighting with properly-placed, soft white lamps to create a pleasing ambience in the room.
Be a lighting pro with the three sources setup. When facing your computer or camera, try to position light sources to the left and right of you, as well as overhead. This is the go-to lighting configuration for portrait photographers and videographers; it illuminates all angles of your face without muddying any features.
Use the right amount of light as cameras require plenty of light to record with maximum clarity. Still, it is possible to have too much light. If your window is too bright a source, lower the blinds or move away to avoid overexposure. If a smaller source like a lamp is too bright, position it further away or dim it with a shade. If possible, use multiple light sources pointed at your face to fill in shadows and make the room’s overall lighting as even as possible.
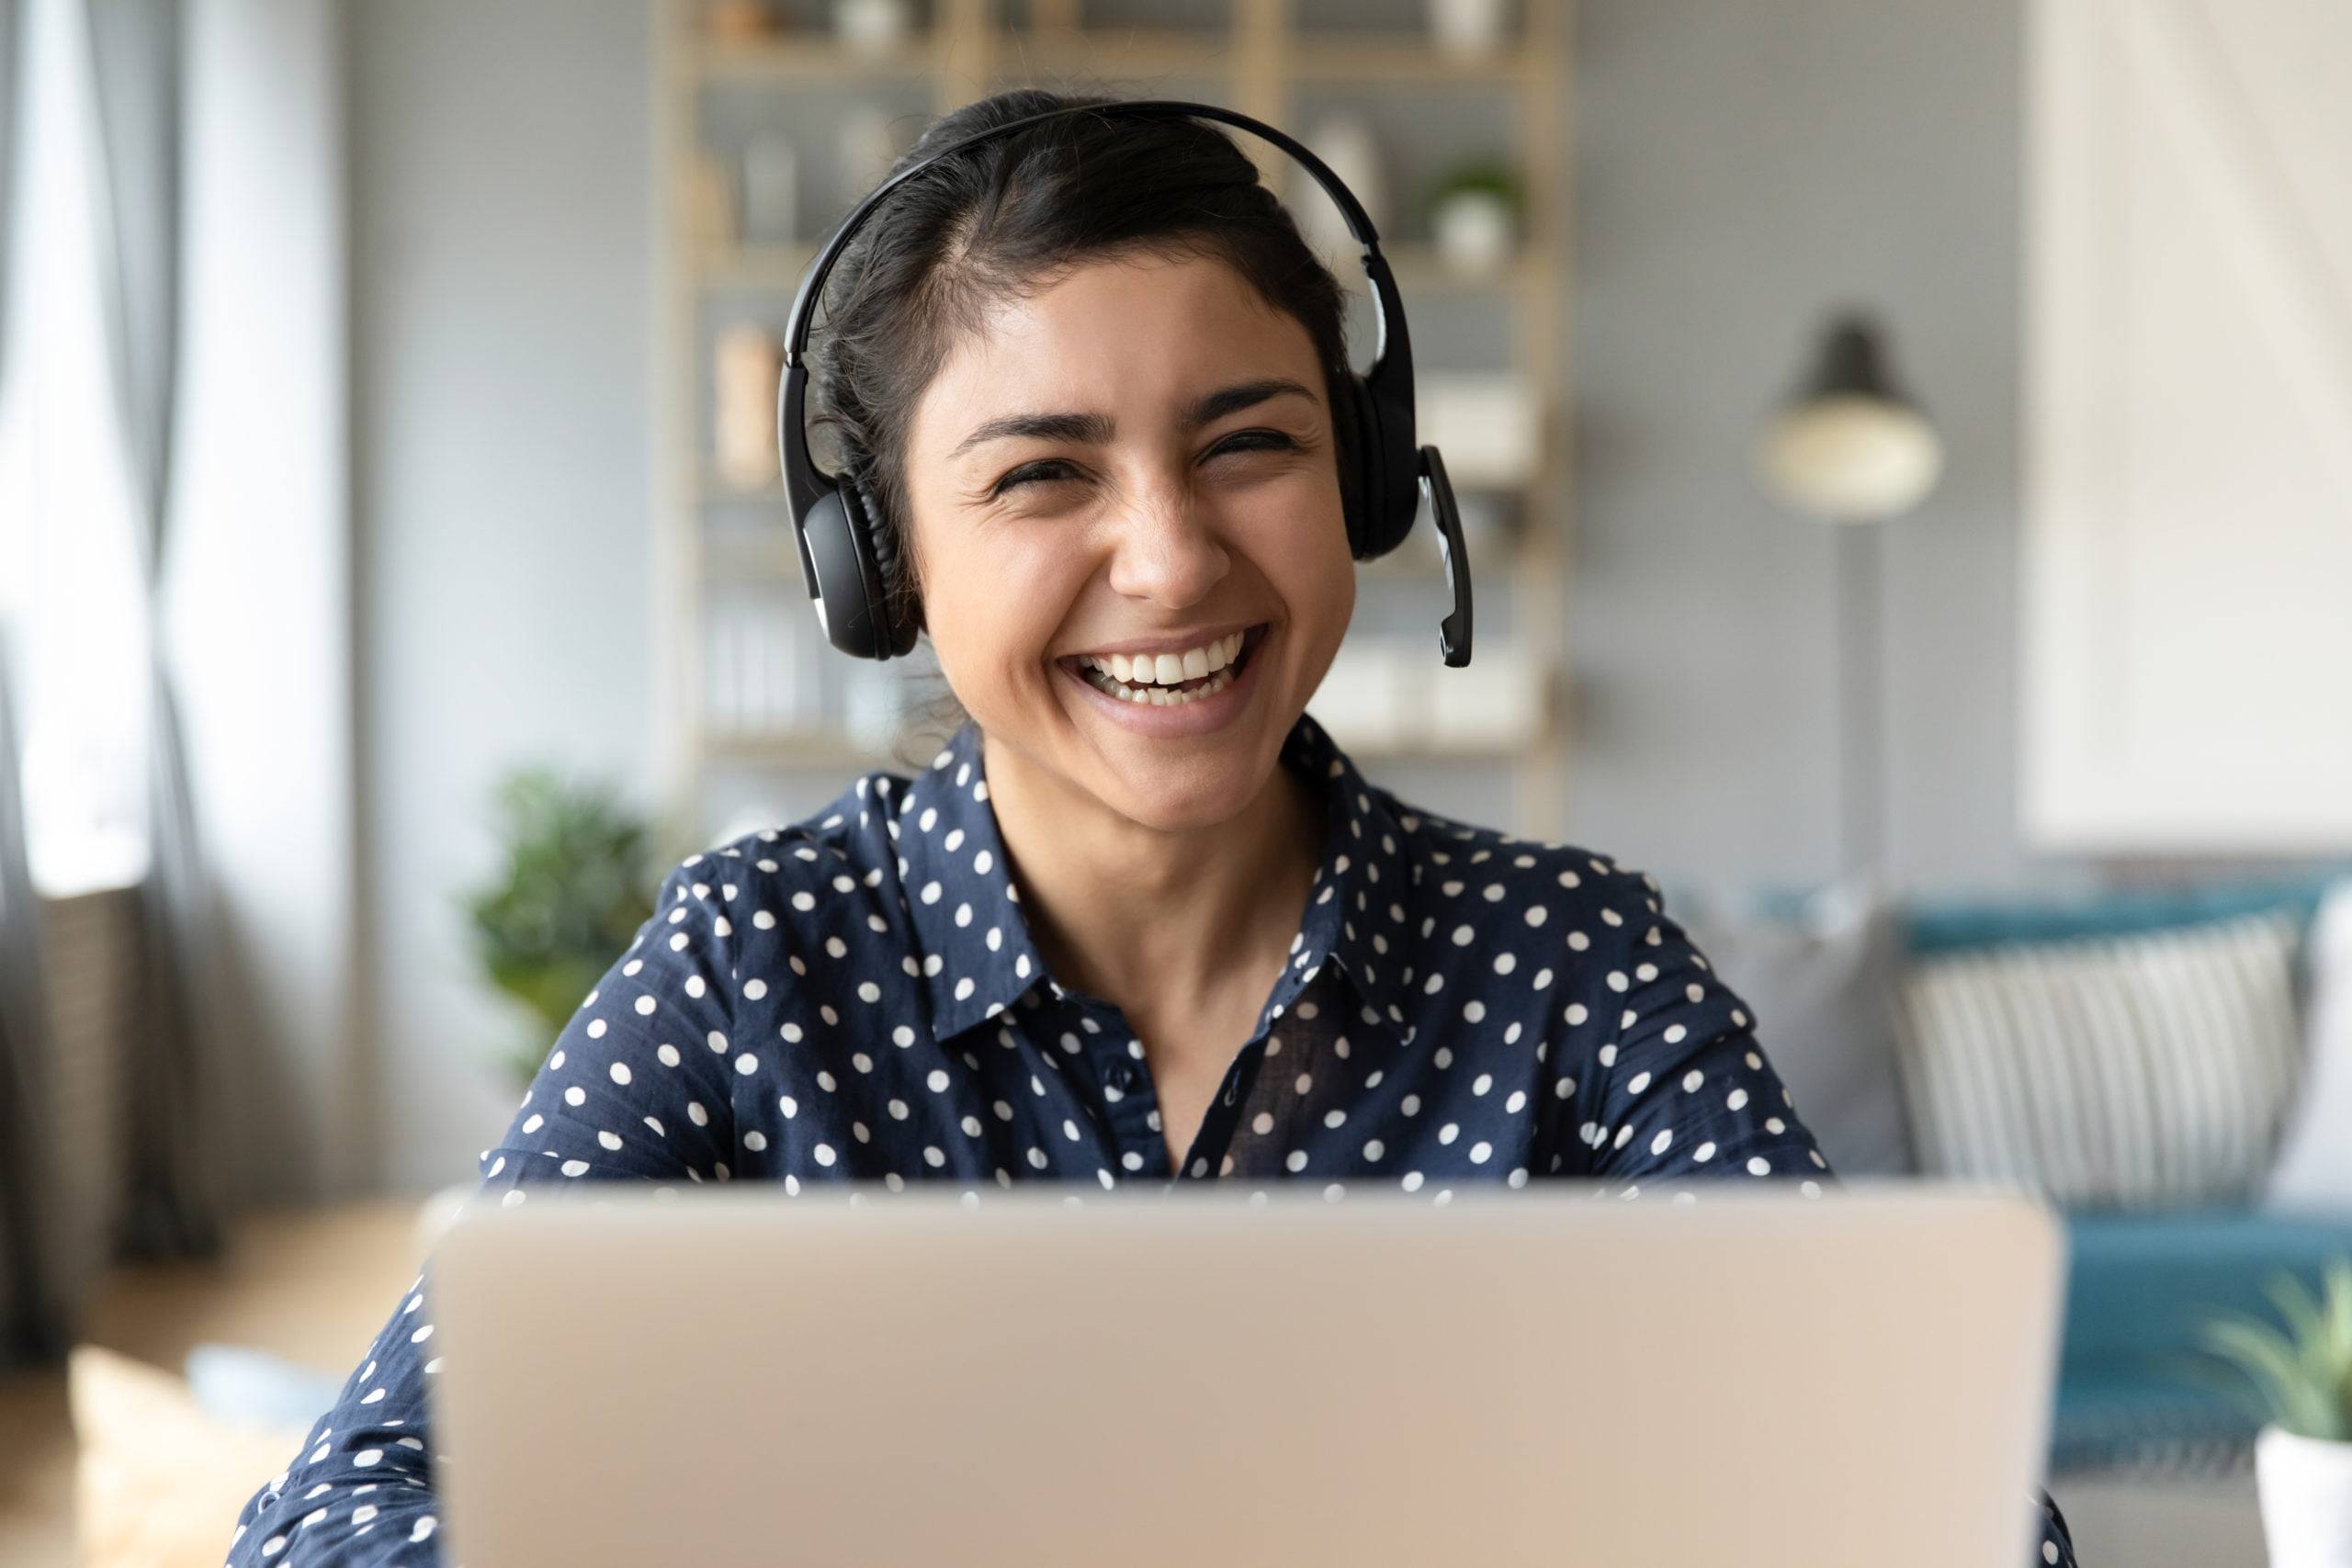
Bluetooth headphones offer a pro look. Tethered headsets or earbuds can look messy, get in the way, cause you to hold your head in weird positions, and lead to fidgeting. Switch to bluetooth headsets to move freely and get your voice to project effortlessly. Your neck and shoulders will feel much better at the end of a long day of video conferencing.
Use external microphones and speakers instead of wireless headsets or wired headphones. Of course, this only works if you’re broadcasting from dedicated spaces where background noise isn’t a problem. If you have a home office or spare bedroom for privacy, then this is the best configuration, especially if you’re doing several video conferences a day.
TIP: If you choose to go this route, you’ll need a USB hub so you have enough ports for all of your plug-and-play devices.
Using new online technology can take some getting used to. User errors can result in attendees missing meetings, showing up late or accidentally exiting early. Advise attendees to download any necessary applications prior to meeting time. Check to make sure you don’t have any settings blocking browser windows.
Make sure the video conference application works with the devices you will use. Switching between your phone and laptop is not always seamless. It may take some trial and error so plan to test everything with a good time cushion beforehand.
If you do not have enough internet bandwidth and poor network connectivity, there may be issues like freezing screens, lags, and lower quality visuals, and choppy sound. Ensure your internet connection speed is high enough. Double check cables and routers to make sure that everything is plugged in and working properly. An ethernet cable can help with wifi by providing a direct connection to your router.
Proper video conferencing etiquette means making sure that if you are not speaking, you are on mute. The more people in the virtual room, the greater potential for feedback and noise distractions. Noise cancellation headsets and microphones can help prevent echoes or problems with low volume.
TIP: Find your sound settings and mute button before meetings.
Other members of the household can be a major distraction for video conference attendees. When family members, friends, or pets show up in the background, it disrupts meetings and takes the attention from the facilitator. Noises from in the house or outdoors can cause a commotion and totally derail a meeting.
Virtual backgrounds can disrupt video conferences. While someone might intend to keep the focus on the meeting instead of their office photos and set-up, virtual backgrounds can be frustrating. Make sure you have sufficient internet bandwidth and an up to date computer. You can also test this feature prior to meetings to make sure that the image will broadcast correctly.
With the rise of video conferencing for school and work, there has also been an increase of hacking incidents. Commonly referred to as Zoom bombing or Zoom raiding, this problem occurs when people online hack into meetings they are not part of and share their own content. Often the content is offensive or off-topic. In digital classrooms, students may experience cyberbullying. Facilitators can help prevent these incidents by making sure that meeting entry is password protected and links are not posted publicly. Choosing paid video conferencing applications may be the best choice when meetings are addressing sensitive and proprietary material.
To lower stress and keep control of a virtual classroom, you must cast yourself in the best light possible—literally. Just as an actor takes the stage and commands the audience’s attention, teachers must do the same.